Morning Lovelies
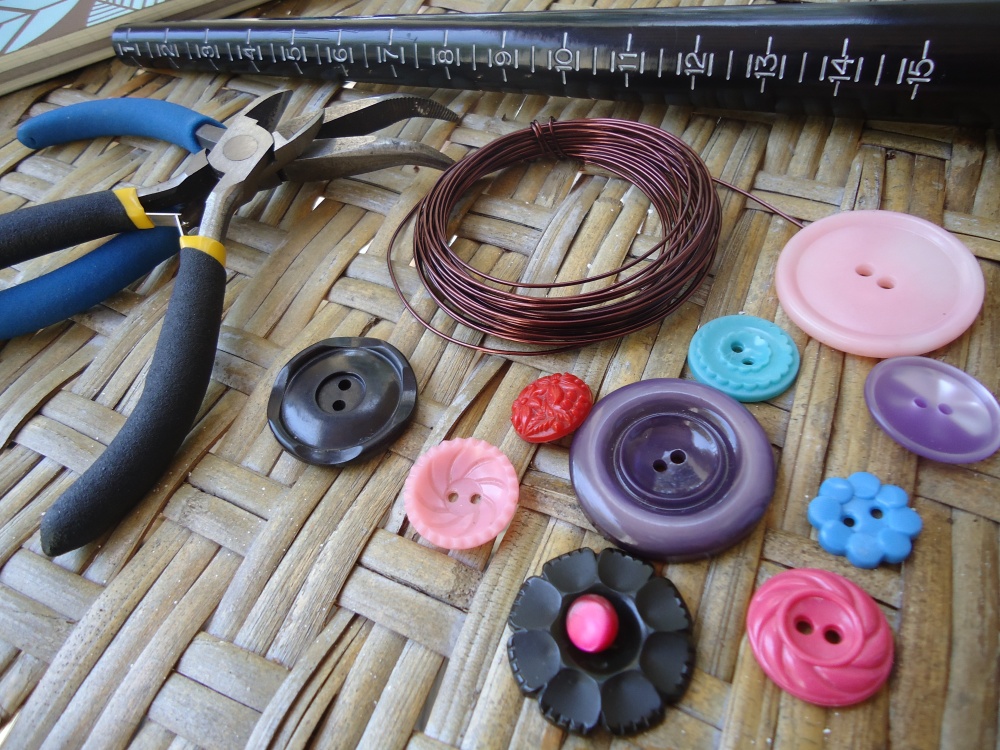
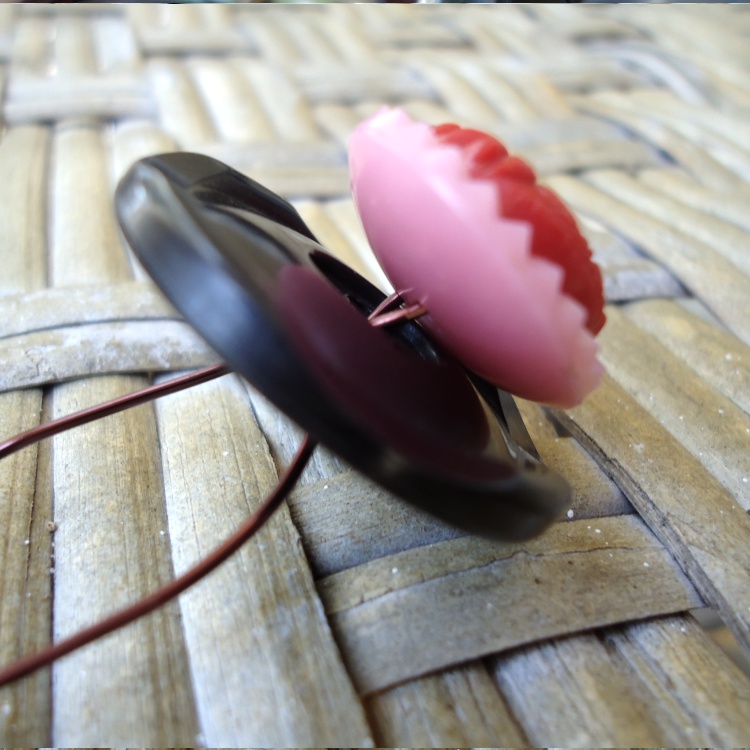
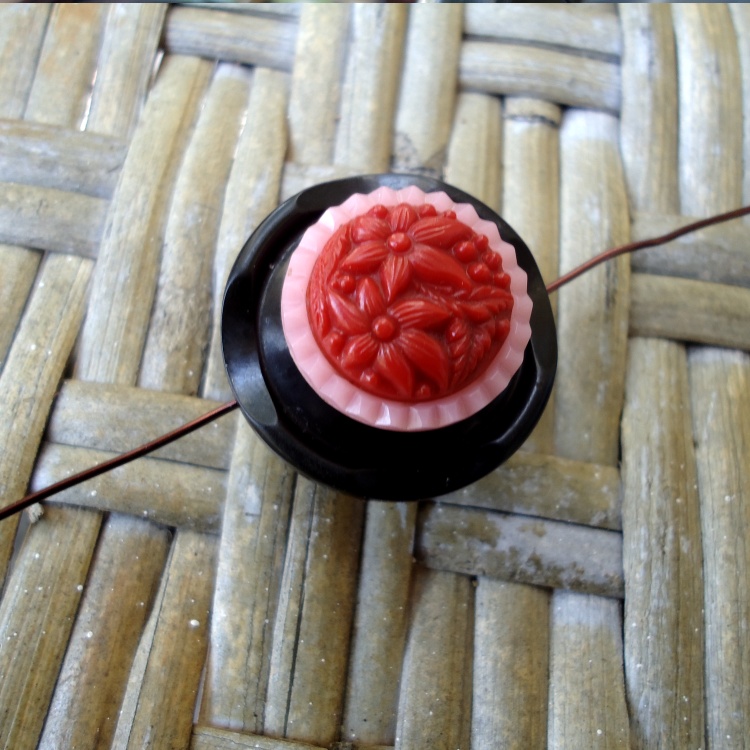
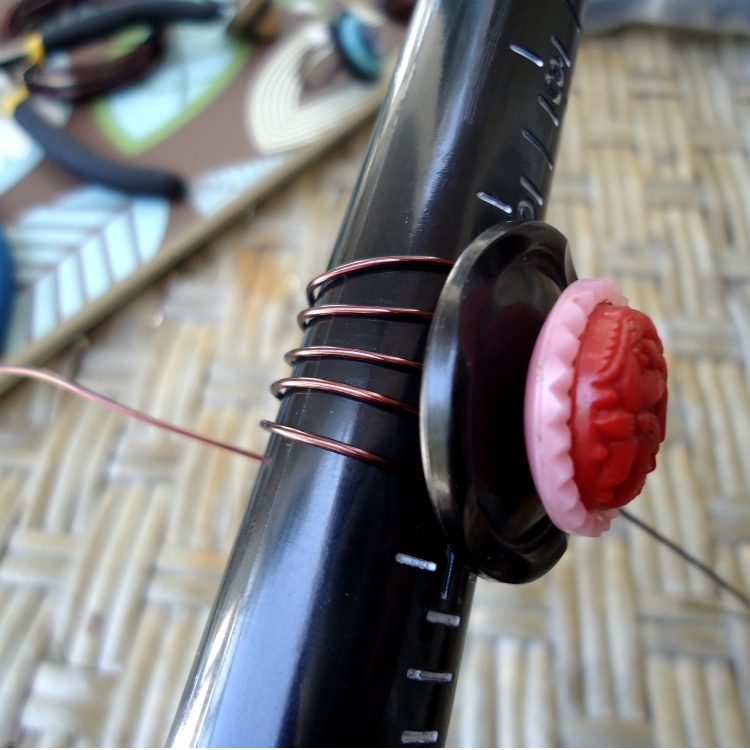
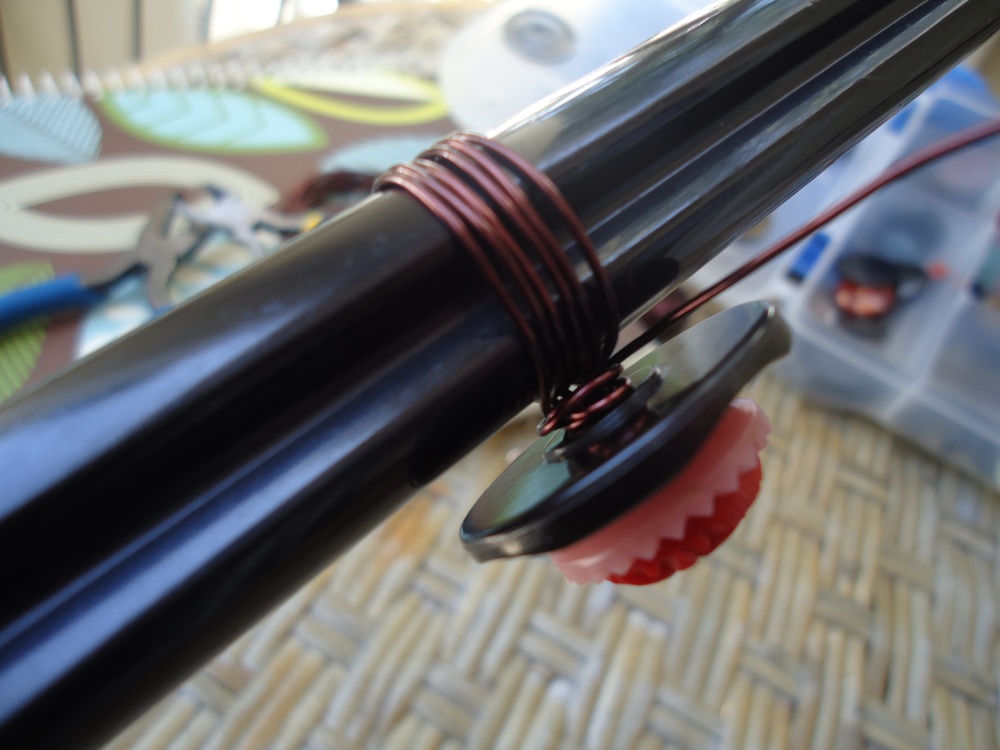
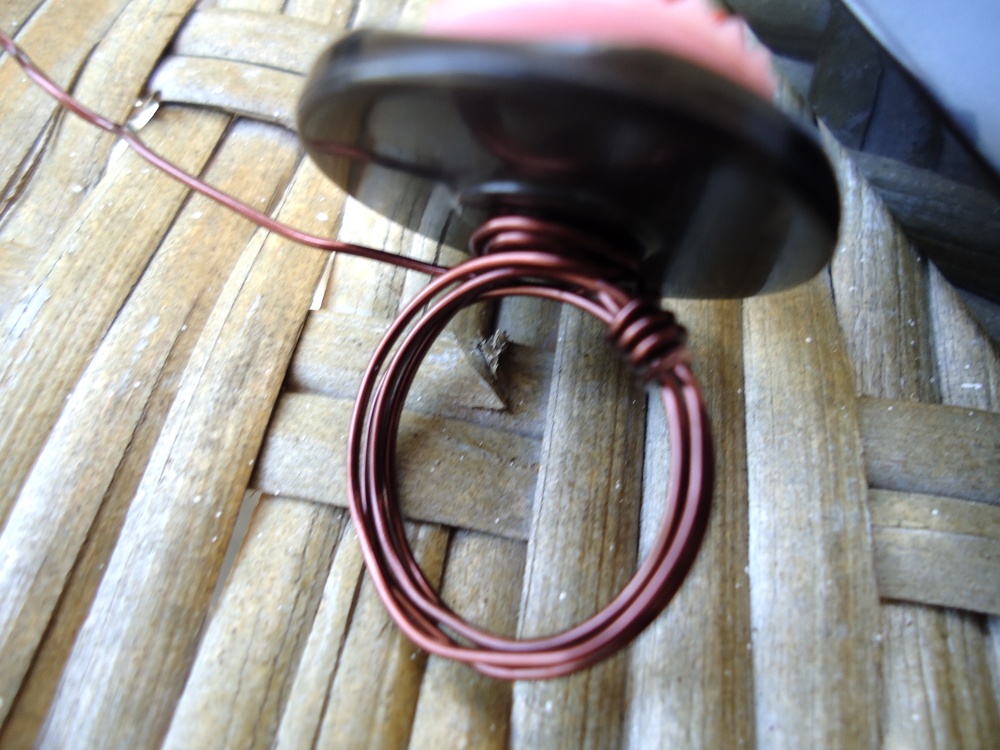
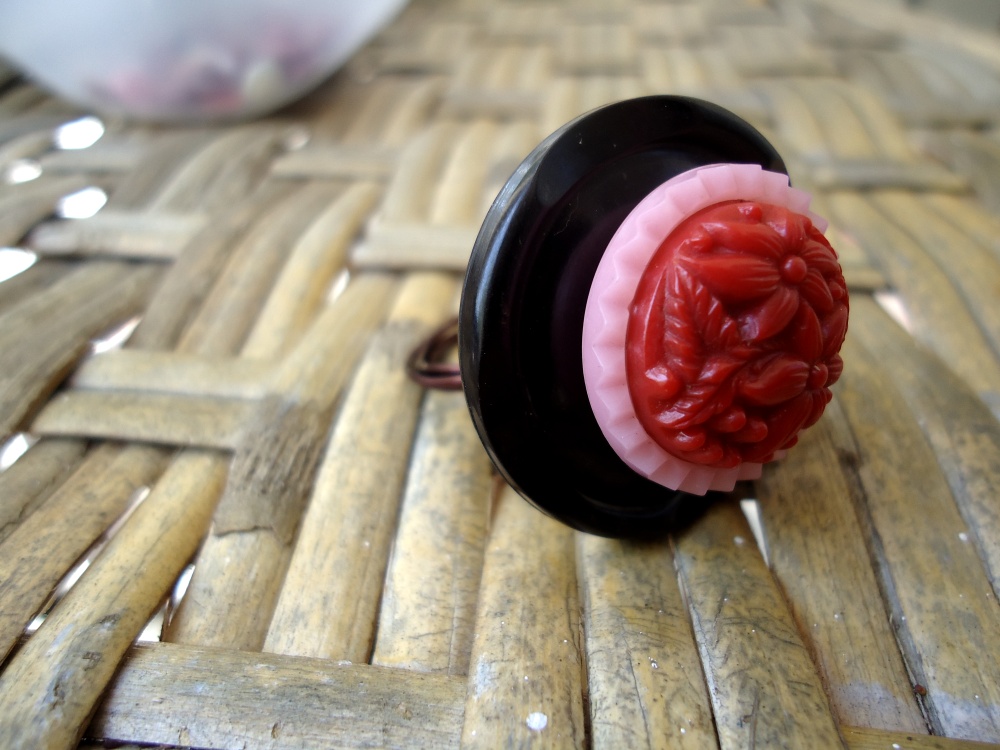
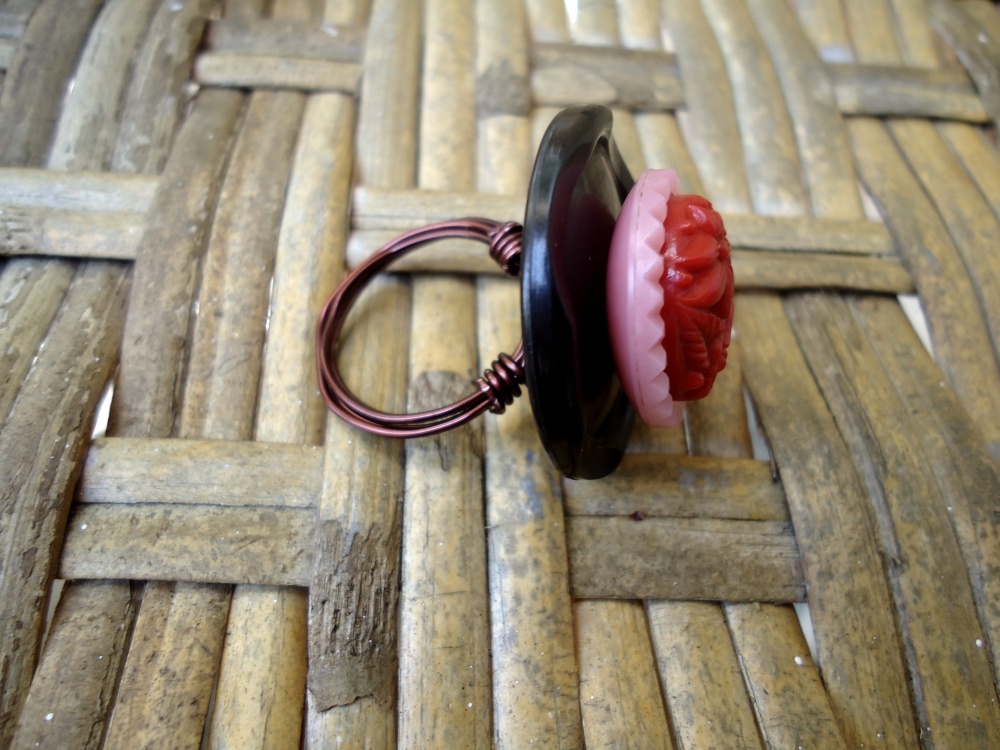
Today's DIY project comes from Cheryl Howell fellow vintage lover and creator of beautiful things. This an easy project and all you will need is: pliers, wire cutters, wire (20 gauge works best for me), buttons, mandrel (ring sizer). Start by choosing your buttons. I like to stack in three layers. Using pliers cut approx. 18- 24 inches of wire. Slightly fold the wire in half and slide buttons on in the order you desire. Once they are on and in the correct order pull the wire so that it makes a straight line with the stack of buttons in the middle. Making sure your buttons stay tightly in place wrap the wire twice around the mandrel one and a half sizes larger than you would like the ring to be. You should have 4 wires around the mandrel. Now wrap each end of the wire twice around the under side of the button stack so that it hold the shape of the ring. Lastly wrap the two sides around both ends of the ring band and clip off excess wire. use the pliers to make it a tight. Voila! Button ring!!
Author: Cheryl Howell
To learn more about Cheryl visit her website: http://www.etsy.com/shop/iamsonotcool
 |  |  |  |  |
 |  |  | Your Turn! |


 RSS Feed
